



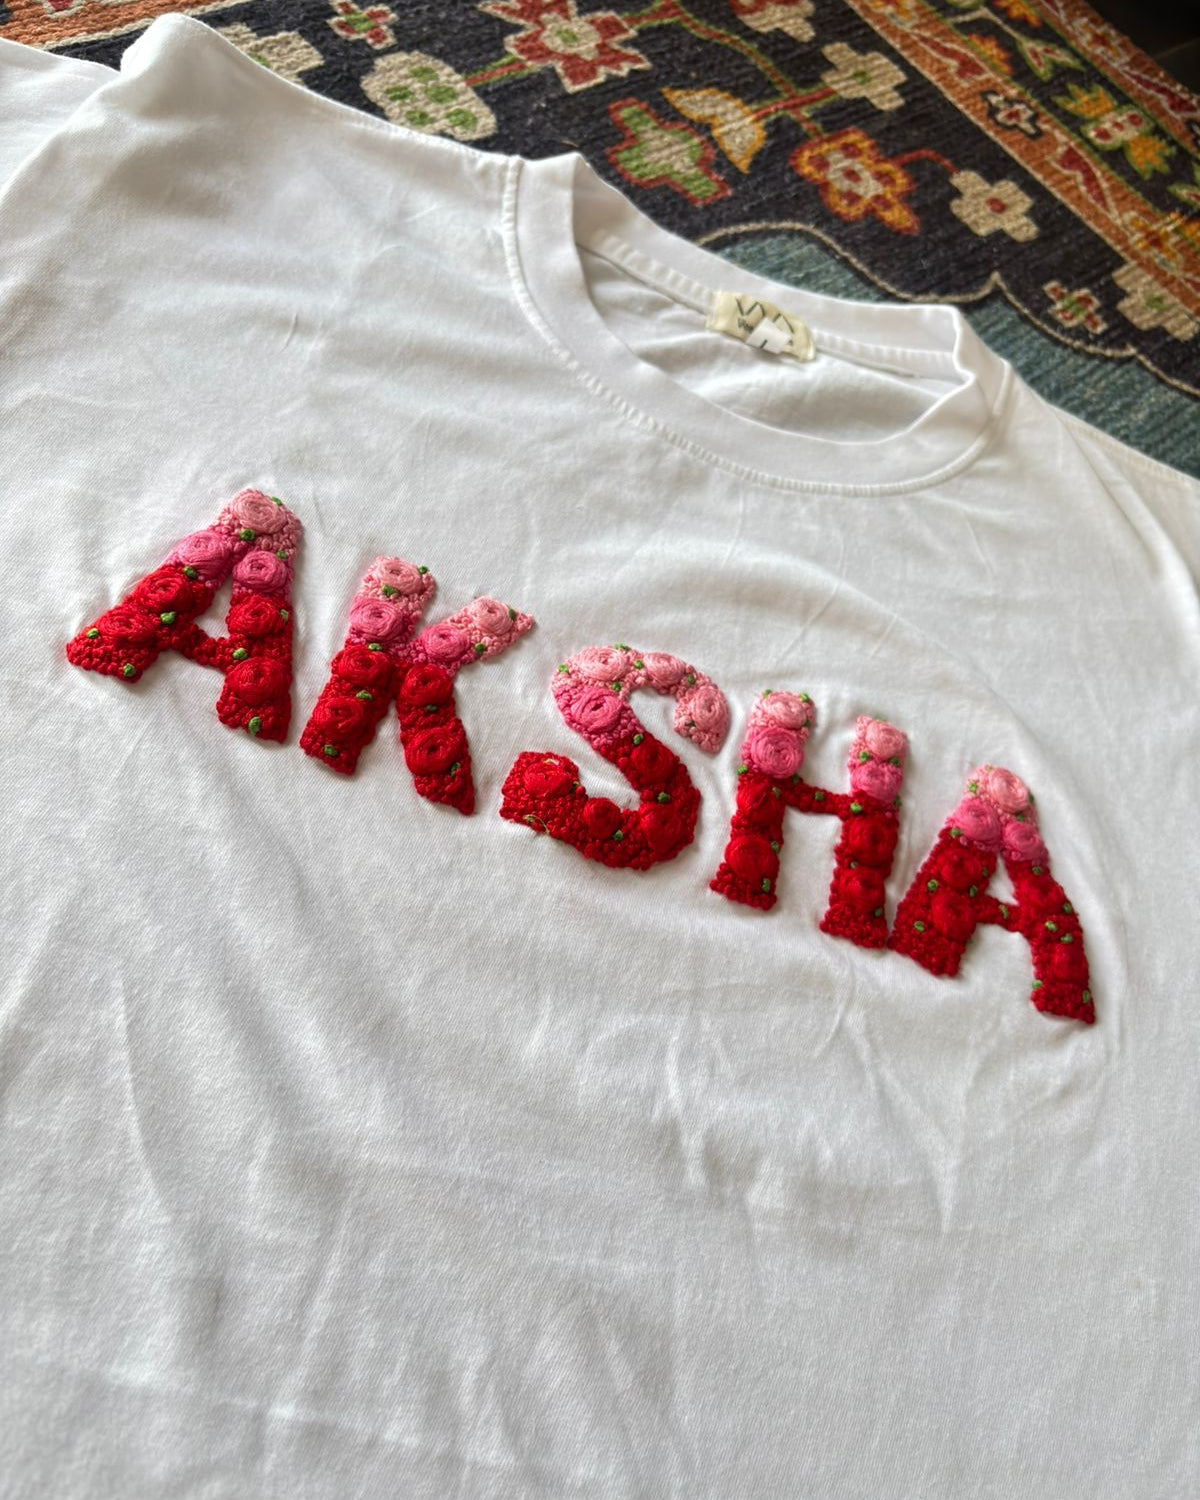
Short answer. Print the name at the size you want, trace it onto the shirt with a washable marker, iron a stabiliser onto the back if the fabric is a knit, and stitch the lines in back stitch with two strands of cotton floss. Keep the letters at least 1.5 cm tall and the stitches 3 to 4 mm long. A five-letter name on the chest is one evening's work for a beginner.
We stitch names every working day, and the question we see most in search is how to do it yourself. This is the method we would teach a new pair of hands. It leaves out anything a first name does not need.
What you need
- The shirt. A woven cotton shirt is the easiest thing to start on. A t-shirt works too, but pick a heavy one, ideally 220 GSM, because thin jersey ripples around lettering.
- Six-strand cotton floss. One skein is plenty for a name. You will stitch with two strands, not six.
- An embroidery needle, size 7 to 9, and a 4 or 5 inch wooden hoop.
- A washable fabric marker. Test it on an inside seam first. Never use ballpoint or pencil.
- Iron-on cut-away stabiliser, only if the shirt is a t-shirt or any other knit.
Kit prices and the full first-project checklist are in can you embroider a t-shirt yourself.
Step 1: Decide the size before the style
Small letters are the commonest mistake, so settle this first.
| Where the name goes | Letter height | What fits |
|---|---|---|
| Left chest | 1.5 to 2.5 cm | A first name or initials |
| Sleeve or cuff | 1 to 1.5 cm | Initials only |
| Full chest | 5 to 10 cm | One short word, large |
| Back, below the collar | 8 to 15 cm | Long names |
Below about 8 mm, script letters close up into a squiggle. If the name is long and the space is small, stitch initials.
To find the spot, put the shirt on and mark it with a pin in front of a mirror. Laid flat on a table, most people place a chest name too low.
Step 2: Get the letters onto the cloth
- Type the name on a computer and print it at exactly the height you chose. Measure the printout with a ruler.
- Rule a faint baseline on the shirt with the marker, so the name does not climb uphill.
- Tape the printout to a window, hold the shirt over it and trace the letters as single lines.
On dark fabric you cannot see through the cloth. Use white dressmaker's carbon paper, or a stick-on water-soluble stabiliser you can draw on and rinse away afterwards.
Choose plain letters for a first attempt: a clean handwriting style or simple capitals. Fonts with thick and thin strokes only work if you fill them in, which is a harder stitch.

Step 3: Stabilise and hoop
If the shirt is a knit, iron the cut-away stabiliser onto the inside, about 2 cm larger than the name on every side. This is the step beginners skip, and it is the reason their lettering ripples.
Hoop the fabric so the surface is flat. On a t-shirt it should never be drum-tight, or you stretch the knit and the name sinks into a dip when the hoop comes off.
Step 4: Pick the stitch for your lettering
Six stitches for lettering
Tap a stitch to see how it is built and which letters it suits.
Back stitch. Come up one stitch-length ahead, then go back down into the end of the last stitch. It makes a clean, solid line and it is the easiest stitch to keep even. Use it for any name in simple print letters.
Split stitch. Bring the needle up through the middle of the stitch you just made, splitting its strands. The line looks faintly braided and bends round tight curves without corners. Use two strands.
Stem stitch. Each stitch starts halfway along the previous one and slightly to one side, always the same side. The result is a twisted rope that thickens naturally on curves, which is why it suits cursive.
Chain stitch. A row of loops, each caught by the next. It is the widest of the line stitches and the most forgiving, because a slightly uneven loop is hard to spot. Use three strands for a name across the chest.
Satin stitch. Outline the letter in split stitch, then lay straight stitches side by side across it, covering the outline. It gives a solid, slightly glossy letter and it uses a lot of thread. Stitches longer than 8 mm snag.
French knot. Wrap the thread twice round the needle, hold it taut, and go down one thread away from where you came up. It leaves a small raised bead. Practise five on scrap cloth before you put one on the shirt.
| Your lettering | Stitch | Strands of floss |
|---|---|---|
| Small print letters | Back stitch | 2 |
| Handwriting with tight curves | Split stitch | 2 |
| Cursive | Stem stitch | 2 to 3 |
| Bold script | Chain stitch | 3 |
| Thick block capitals | Satin stitch over a split-stitch outline | 2 |
| Dots and full stops | French knot | 2 |
If you only learn one, learn back stitch. Every name can be stitched with it.
Step 5: Stitch the name
- Cut a length of floss about as long as your forearm. Longer thread tangles and frays before you finish it.
- Separate two strands and lay them back together. Pulling them apart removes the twist, so they lie flat and cover better.
- Start without a bulky knot. Leave a short tail on the back and catch it under your first few stitches.
- Work each letter the way you would write it, one stroke at a time.
- Shorten your stitches on curves. 3 to 4 mm on straight lines, 2 mm round the bowl of an a or an e. Long stitches turn a curve into a row of corners.
- Do not pull. The thread should rest on the cloth. If the fabric dimples, you are pulling too hard.
- Do not carry thread from one letter to the next on a light shirt. A dark strand crossing the back shows through the front. Finish the letter, then start again.
To finish a thread, slide the needle under three or four stitches on the back and trim.

Step 6: Wash out the marker, then press
Rinse the marker out in cold water before any heat goes near it. Some washable pens set for good under a hot iron. Dry the shirt flat, then press it face down on a towel from the back, so the stitching keeps its height.
Watch it done
The mistakes we see most
- Letters too small. Anything under 1 cm is hard even for an experienced hand.
- All six strands. It makes every line look chunky and sit too high off the cloth.
- No stabiliser on a t-shirt. The lettering puckers and never recovers.
- A hoop tightened like a drum on jersey. The name sits in a dent.
- Ironing before rinsing. The guideline becomes permanent.
When it is worth handing over
Stitch it yourself if the making is the gift. Hand it to us if there is a date attached, if the name is in a script you do not write, or if the piece has to look finished the first time. Our artisans do this every day, and every custom name is confirmed with you in writing before the needle moves.
Our custom name tees start at about ₹1,449. See custom hand embroidery, or read 18 lettering styles that work on clothing if you are still choosing a look.
Frequently asked questions
What is the best stitch for embroidering a name?
Back stitch for small print letters, stem stitch or split stitch for cursive, chain stitch for bold script and satin stitch for thick block capitals. A beginner can stitch any name in back stitch alone.
How many strands of floss should I use for letters?
Two strands for most names. Use three for chain stitch on a large name. All six strands makes lettering chunky and hard to control.
How big should embroidered letters be?
At least 1.5 cm tall on a left chest and 1 cm on a cuff. Below about 8 mm, script letters close up and become hard to read.
Do I need stabiliser to embroider a name on a t-shirt?
Yes. T-shirt jersey is a knit and stretches. Iron-on cut-away stabiliser on the inside stops the lettering from puckering. A woven shirt does not need it.
How long does it take to hand embroider a name?
A five-letter name on the chest takes a beginner one evening. An artisan who does it daily is several times faster.
Who wrote this
Vee Threads is a hand-embroidery studio in Kutubpur, Bulandshahr, Uttar Pradesh, run by Mansi and Vikash. Every piece is stitched by hand by women artisans who live within walking distance of the studio. There is no embroidery machine on the premises, and we have shipped more than 5,000 orders. Mansi runs the studio and quality control. Vikash handles the digital side.
The methods on this page are the ones used on our studio floor, on 220 GSM cotton tees, 350 GSM fleece sweatshirts, 400 GSM fleece hoodies and acid-wash denim caps. If you would rather have it stitched for you, start a custom hand embroidery order or browse the hand embroidered t-shirts.







Share and get 15% off!
Simply share this product on one of the following social networks and you will unlock 15% off!