



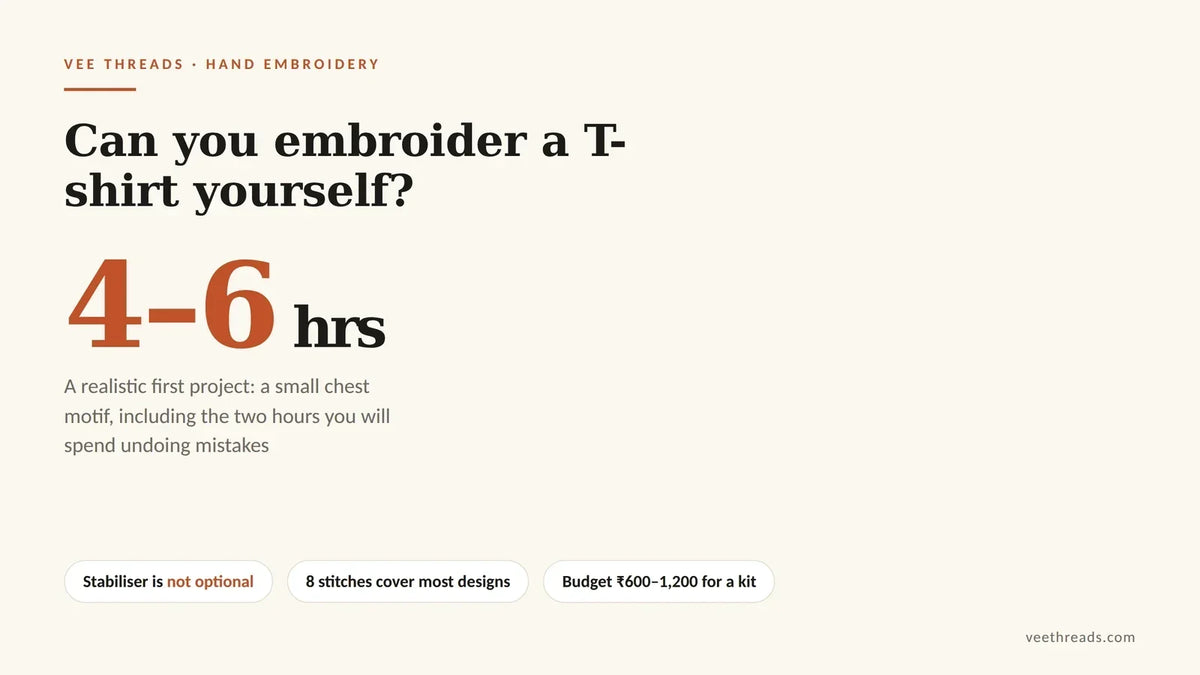
Short answer. Yes. To embroider a T-shirt at home you need a 220 GSM or heavier tee, iron-on cut-away stabiliser, a wooden hoop, cotton floss and a washable marker. A small chest motif is a realistic first project at four to six hours. The step most beginners skip is the stabiliser, and it is why their first tee ripples.

We sell hand-embroidered tees, and we still think you should try this at least once. Doing it badly for four hours teaches you more about why the finished ones cost what they do than any article can.
What you need, and what it costs
| Item | What to get | Rough cost |
|---|---|---|
| Blank tee | 220 GSM or heavier cotton. Thin jersey ripples and never recovers | ₹250 to ₹450 |
| Stabiliser | Iron-on cut-away, not tear-away, for knit fabric | ₹100 to ₹200 |
| Hoop | Wooden, 4 to 6 inch, screw tightened | ₹80 to ₹150 |
| Cotton floss | 6 to 8 shades to start. Two strands, not six | ₹150 to ₹300 |
| Needles | Embroidery needles size 7 to 9 | ₹40 to ₹80 |
| Marker | Washable blue or heat-erase. Never ballpoint | ₹60 to ₹120 |

The six steps

- Buy the right tee. 220 GSM minimum. This is not a snobbery point. Dense stitching on thin jersey pulls the knit into permanent ripples around the design.
- Cut and iron on the stabiliser. Cut-away, on the inside, at least 2cm larger than the design on every side. Beginners skip this because it is invisible in the finished piece. It is also the reason their finished piece looks wavy.
- Transfer the design. Washable blue marker or a heat-erase pen. Trace against a window if you do not have a light box. Never ballpoint, never pencil, both of which stay forever.
- Hoop loosely. Tension just enough that the surface is flat. If the jersey is drum-tight, you are stretching the knit and the motif will sit in a dip when you release it.
- Outline in back stitch. Two strands of floss, not six. Six strands is the default beginner mistake and it makes everything look chunky.
- Fill in satin stitch. Keep individual stitches under 8mm or they snag on bag straps and door handles. Longer stitches also sag.

What will go wrong the first time
- Puckering. Almost always tension: hoop too tight, or stitches pulled too hard. Loosen both.
- Show-through. Dark floss carried across the back of a white tee is visible from the front. Knot off and restart rather than carrying thread more than a centimetre.
- Uneven satin fill. Slow down. Satin stitch punishes speed more than any other stitch.
- Marker that will not wash out. Test your marker on a scrap first. Some “washable” pens set permanently under a hot iron.

How long it really takes
A small chest motif, four to six hours for a first attempt, including undoing. An experienced artisan on our floor does the same motif in two. That gap closes faster than you would think, somewhere around your fifth or sixth piece.
A full back panel is not a beginner project. Fourteen hours of satin fill with no error tolerance is how people give up on the craft entirely.
When to just buy one instead
If the piece is a gift with a date attached, or it needs a name spelled correctly in a script you do not write, buy it. Names are unforgiving. A misplaced matra in Devanagari is fourteen hours gone, which is why every custom order we take goes through a written spelling proof first.
See custom embroidered T-shirts, or read the full studio process if you want to know what you are competing with.

Watch tutoriual
Frequently asked questions
Can you embroider a T-shirt by hand at home?
Yes. A small chest motif is a realistic first project at four to six hours including mistakes. You need a 220 GSM tee, iron-on cut-away stabiliser, a wooden hoop, cotton floss and a washable marker.
Do I need stabiliser to embroider a T-shirt?
Yes, and it is the step beginners skip. T-shirt jersey is knit and stretches in every direction. Iron-on cut-away stabiliser behind the design area is what stops the finished piece from rippling.
How many strands of floss should I use on a T-shirt?
Two for most work. Six strands is the common beginner default and it makes every line look chunky and sit too high off the fabric.
Why is my embroidery puckering?
Almost always tension. Either the hoop is drum-tight and stretching the knit, or individual stitches are being pulled too hard. Loosen both and add stabiliser if you skipped it.
What marker should I use to transfer a design?
A washable blue fabric marker or a heat-erase pen, tested on a scrap first. Never ballpoint or pencil, both of which stay in cotton permanently.
Who wrote this
Vee Threads is a hand-embroidery label run by Vikash Tomar and Mansi from a studio in Bulandshahr, Uttar Pradesh. Every piece is stitched by hand by women artisans on the studio floor, on 220 GSM combed cotton tees and 400 GSM sweatshirts. We have shipped more than 5,000 orders. Mansi runs the studio and quality control, Vikash handles the digital side. Prices, timings and hours quoted in this article come from our own production records, not from industry averages. Browse the hand embroidered T-shirt collection or start a custom hand embroidery order.







Share and get 15% off!
Simply share this product on one of the following social networks and you will unlock 15% off!